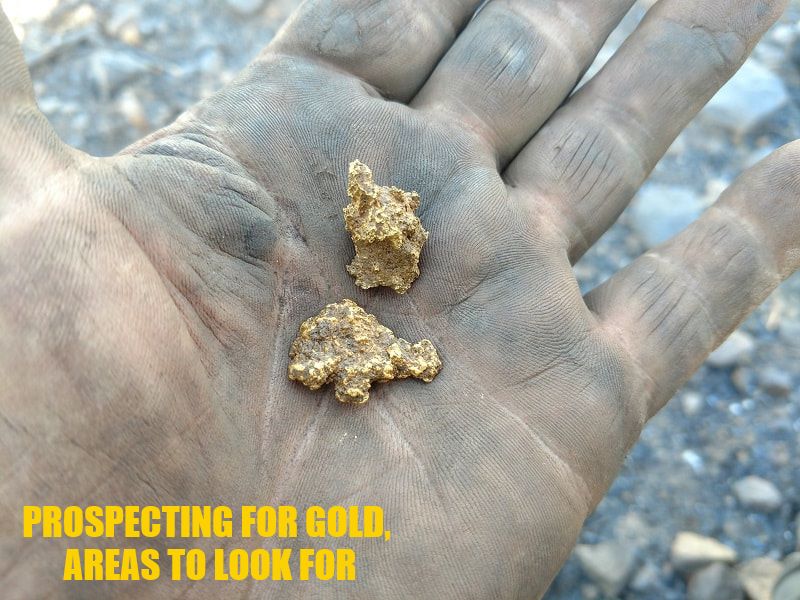


This gallery of pictures is devoted to a few areas that I have hunted over the years. These pictures may help someone to identify an area as an old mining spot or a possible gold bearing area. The terrain varies from picture to picture but is all within a two hundred and fifty square mile zone. Some really nice gold has come out of each one of these areas. The gold has been found with PI technology and VLF units.

Some of these pictures show areas of mining where the work was obvious. A few of the pictures show spots that are subtle and these areas are easy to walk right by. Remember, you do not have to have rock stacked. Also, in pocket areas big rocks do not mean big gold. This was something I learned very early. When you are detecting ancient channel or stream beds then you may find larger gold or accumulations of gold closer to the big rocks or boulders.
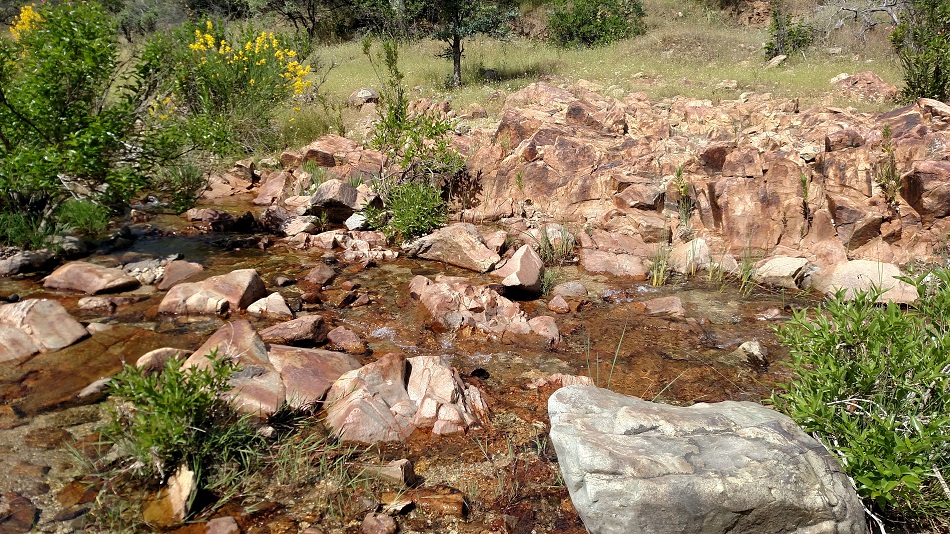
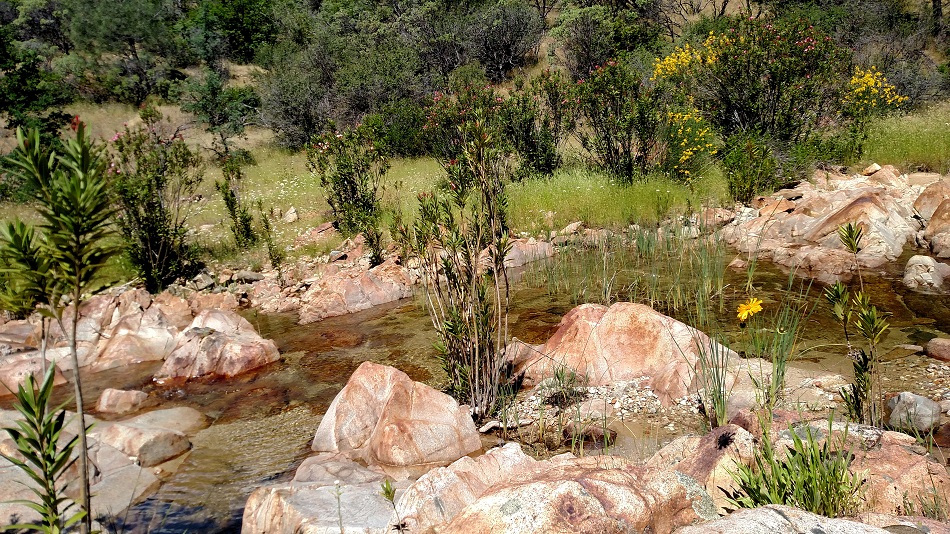
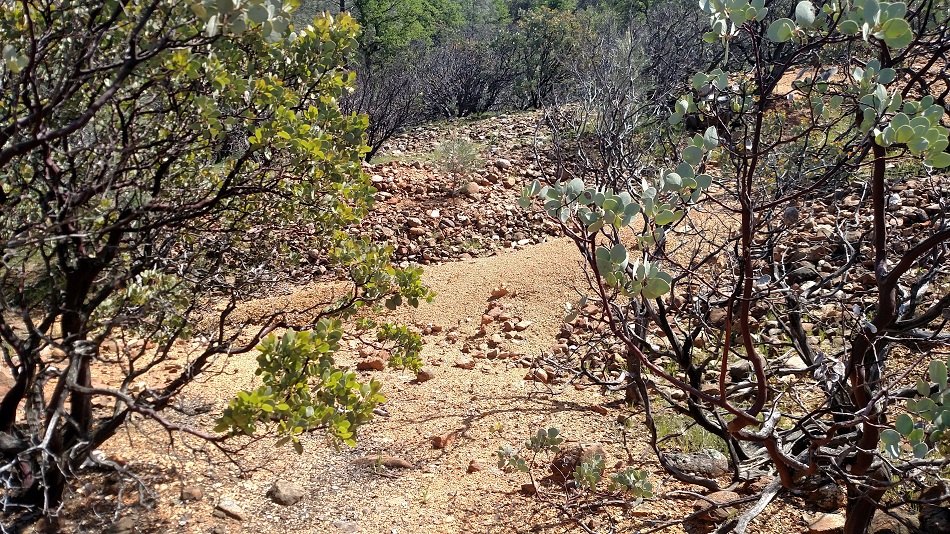
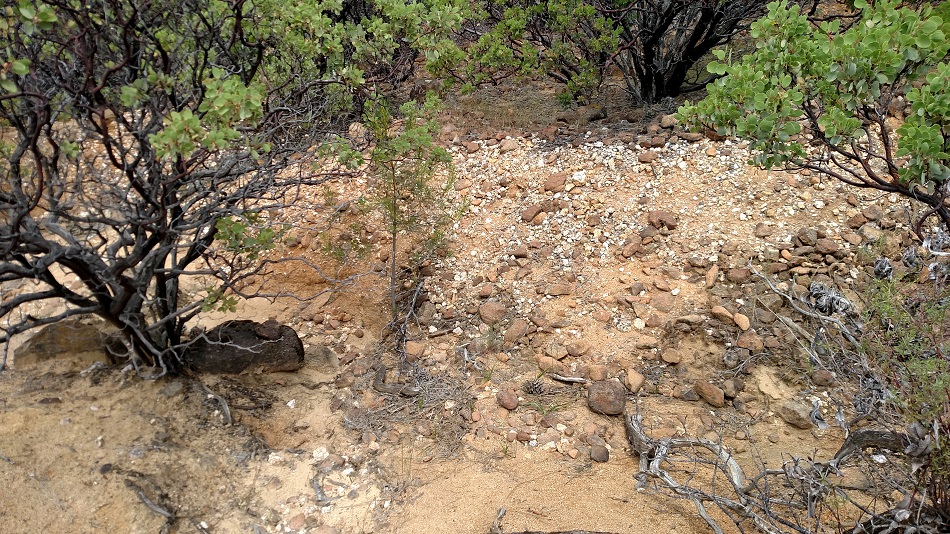
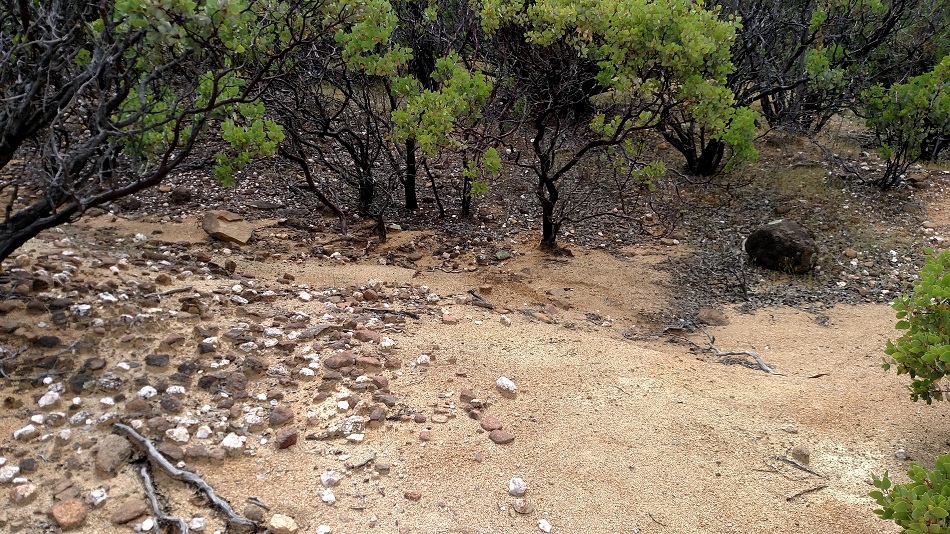
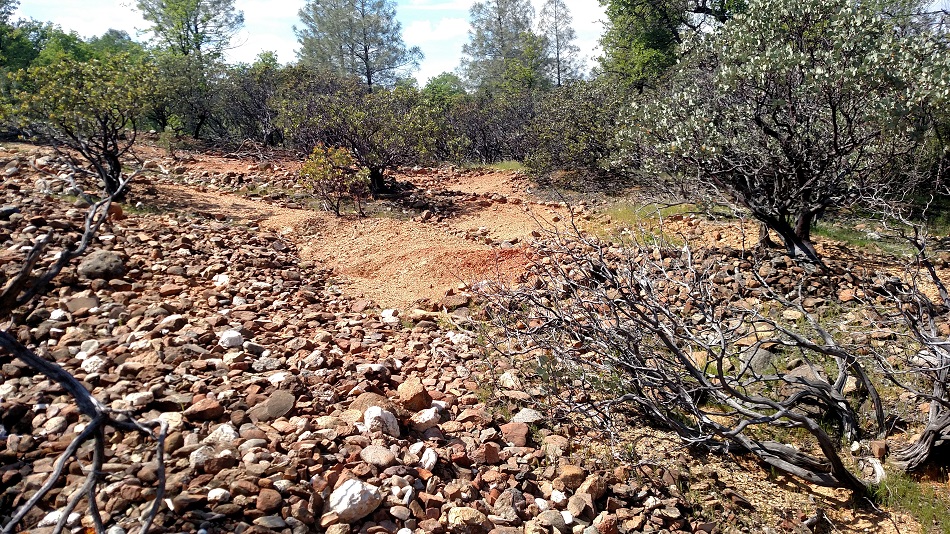
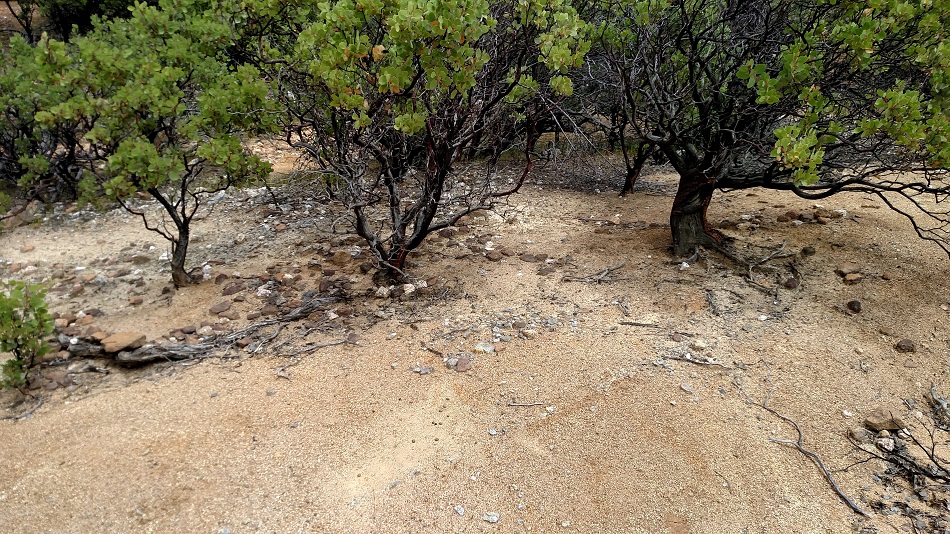
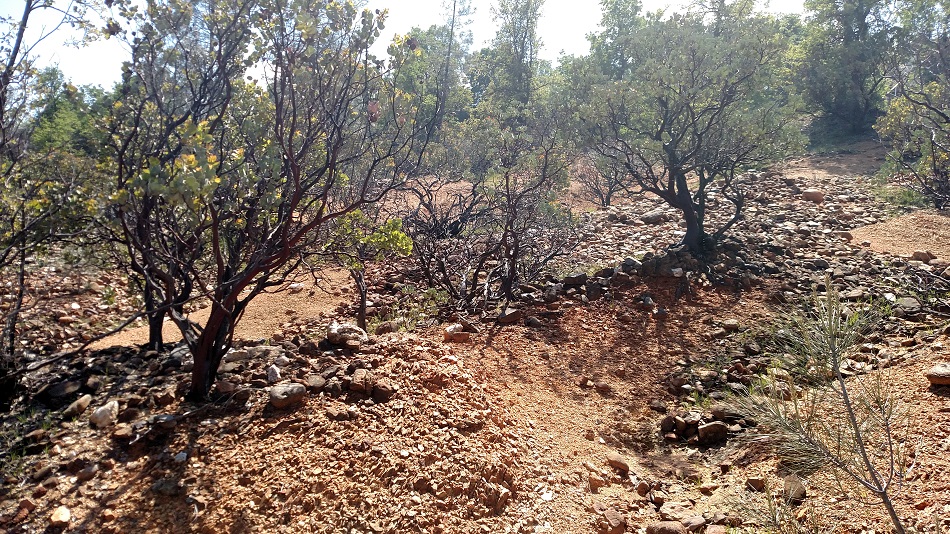
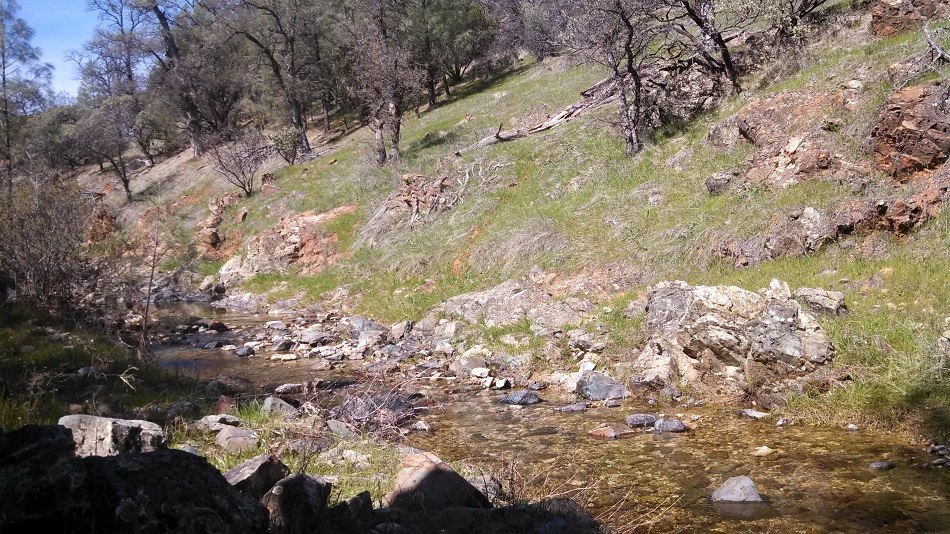
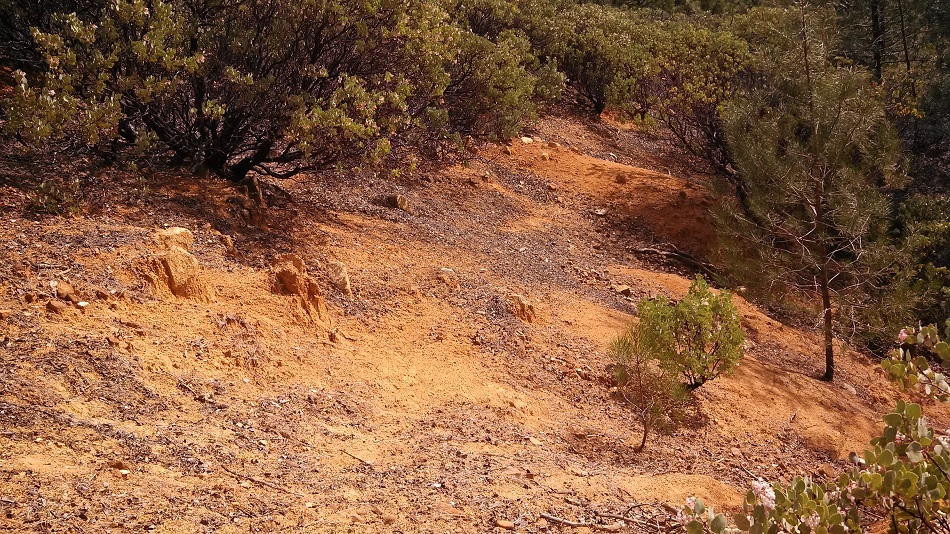
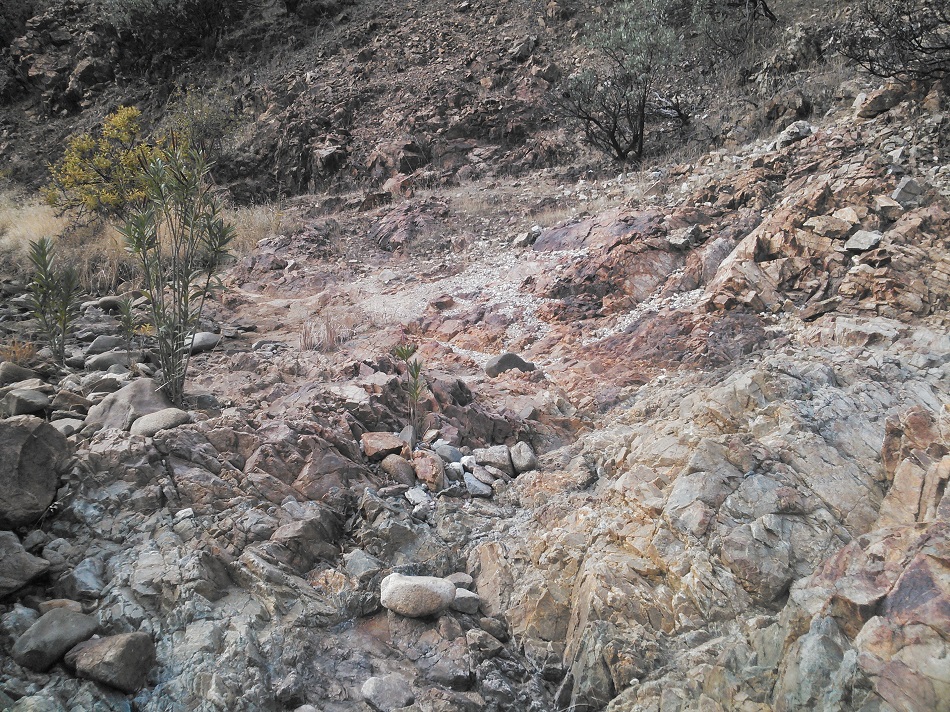
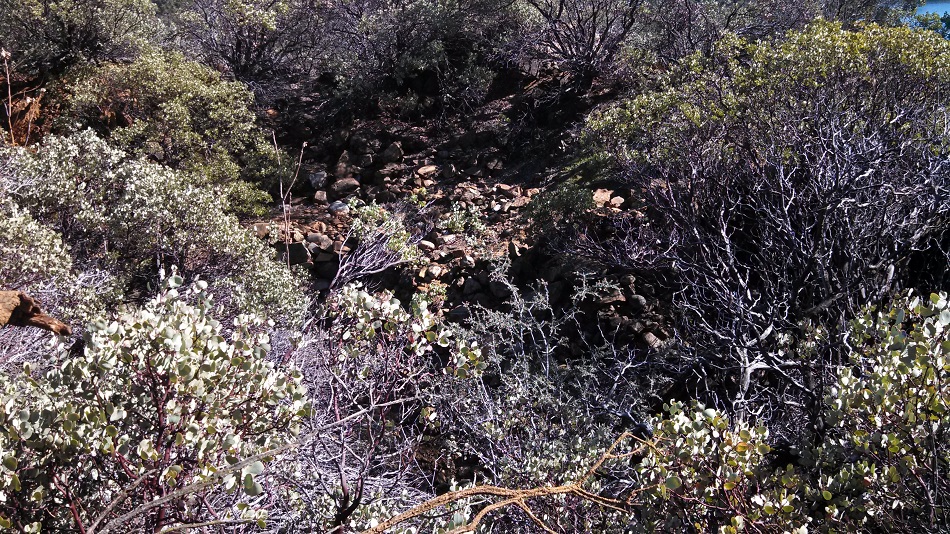
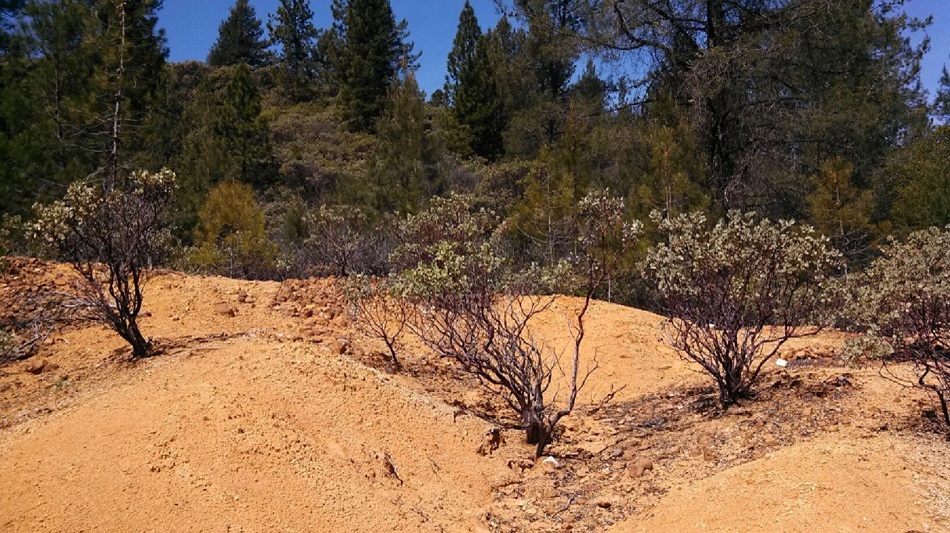
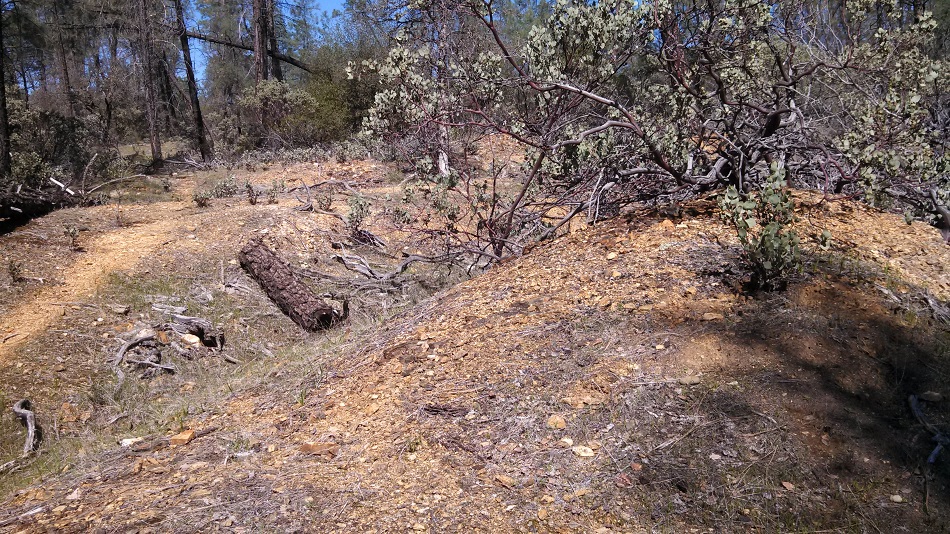
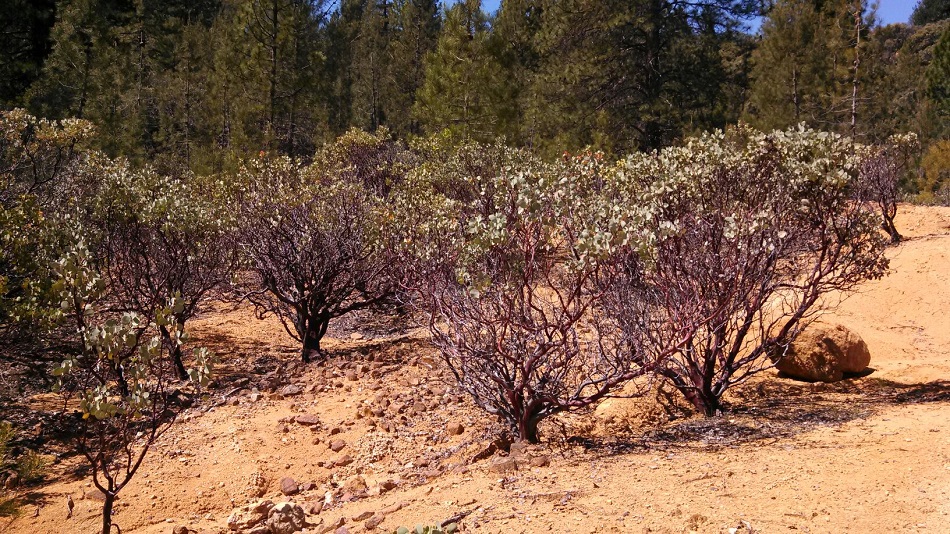
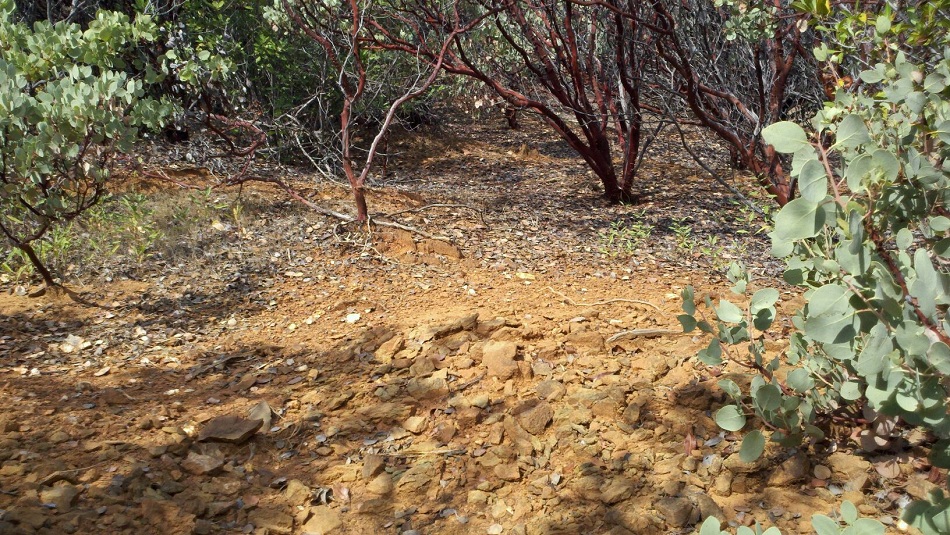
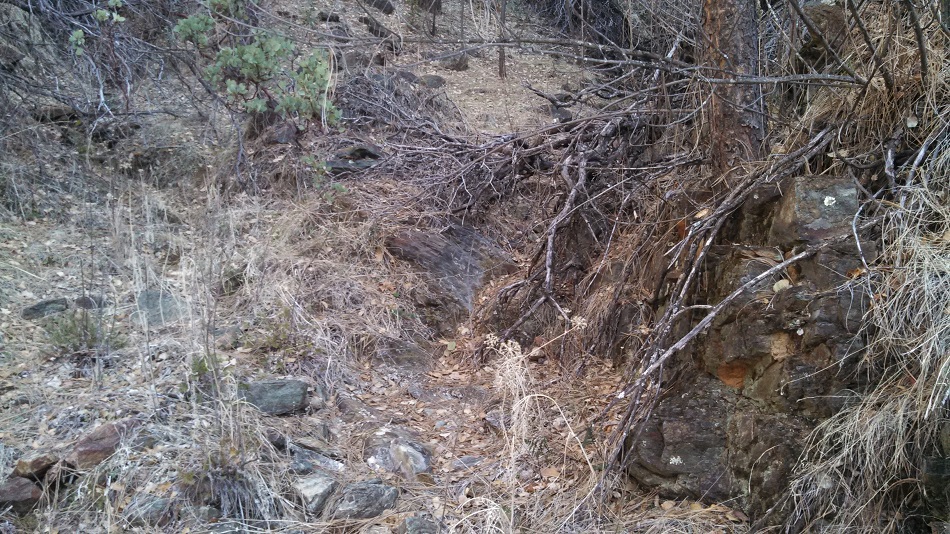
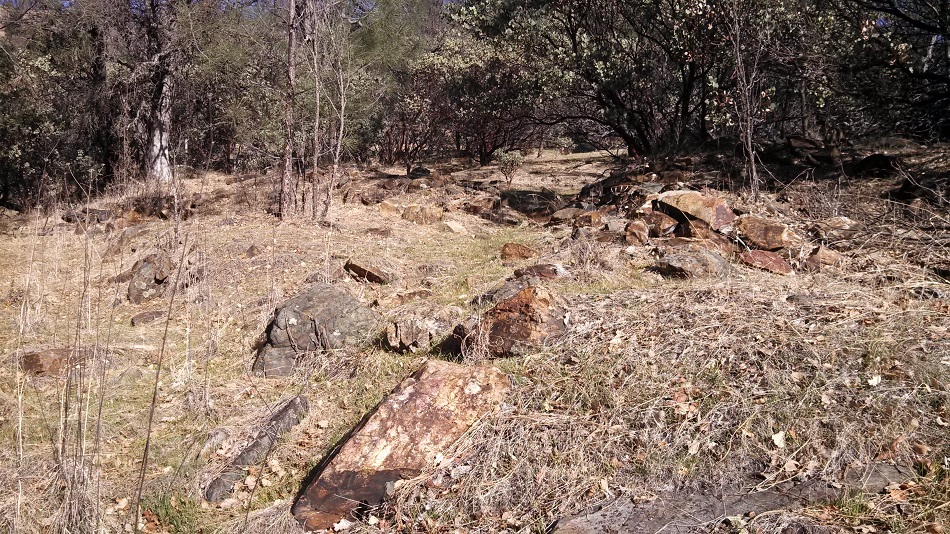
If you look at the enlarged images closely you will see that some of the areas have round rock and some have coarse rock. A few of the areas will have both types of rock. You will see bedrock and wide open red areas that have been ground sluiced. There are also areas that are very well hidden, either by brush or rock. Along the edges of the creeks you will see lines of red soil dipping into the creek beds from the hillsides. This red soil needs to be investigated as you may have a small patch waiting to be found, however do not look at only the red soil.
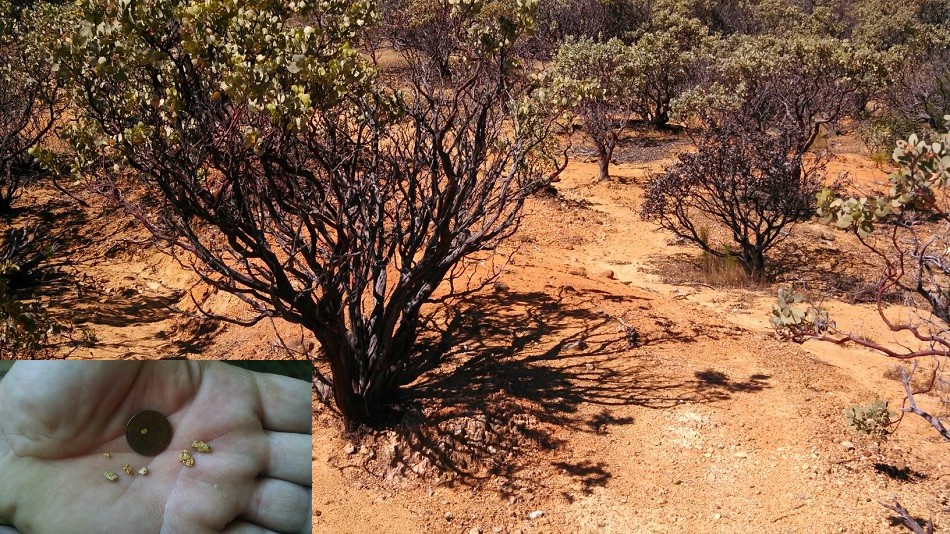
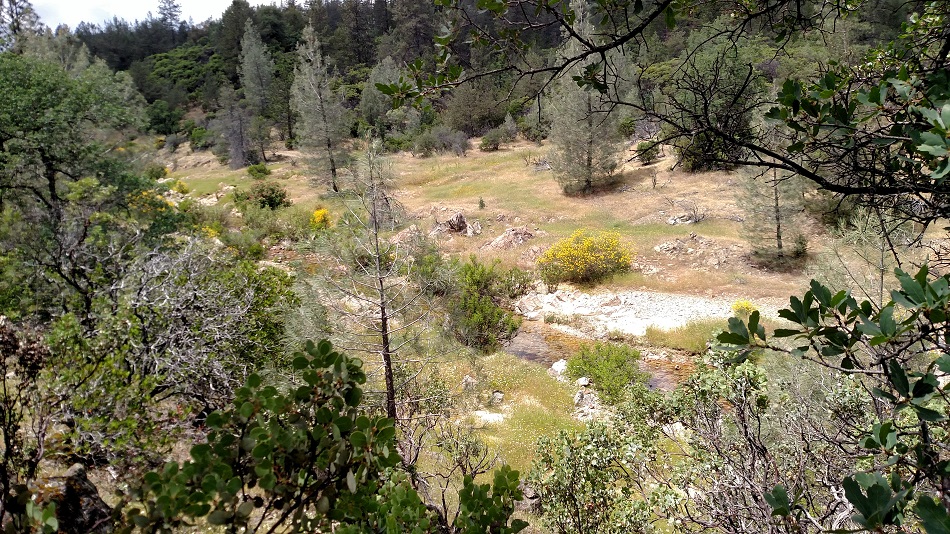
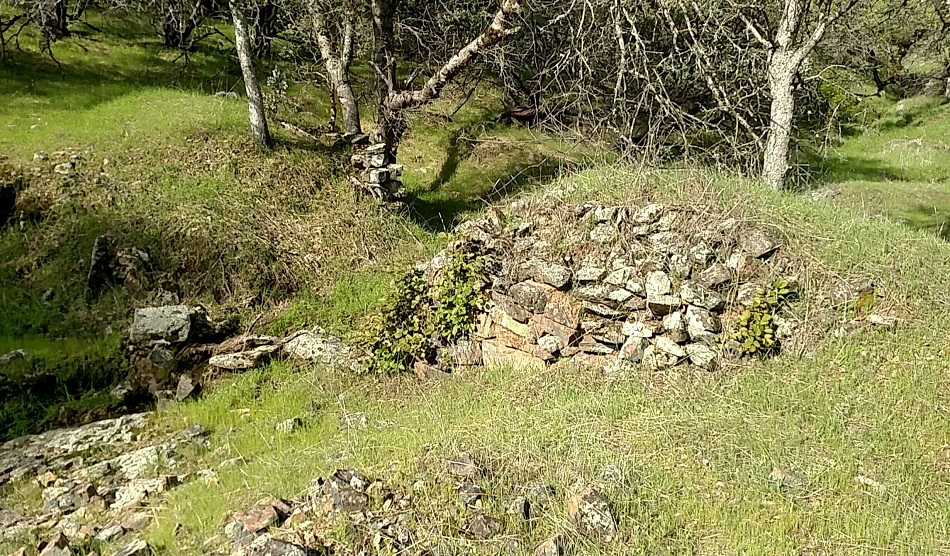
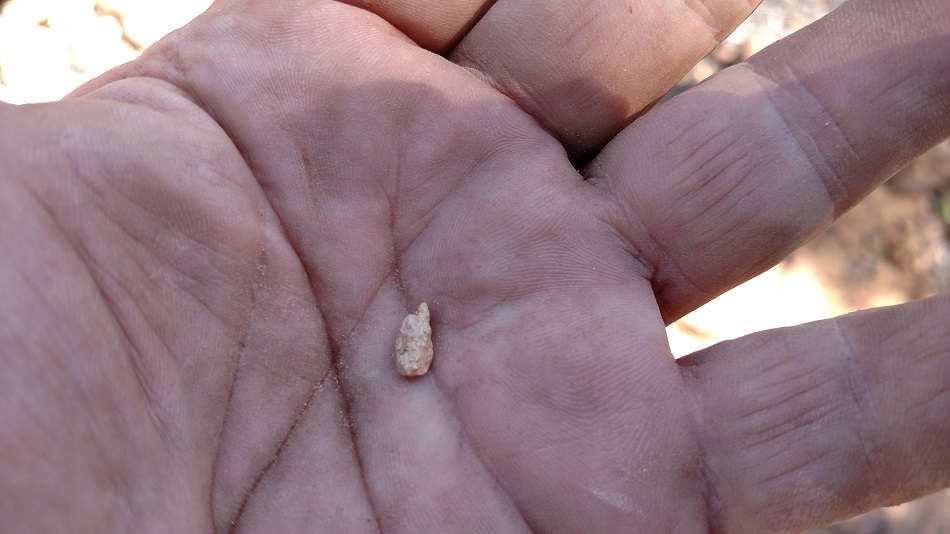
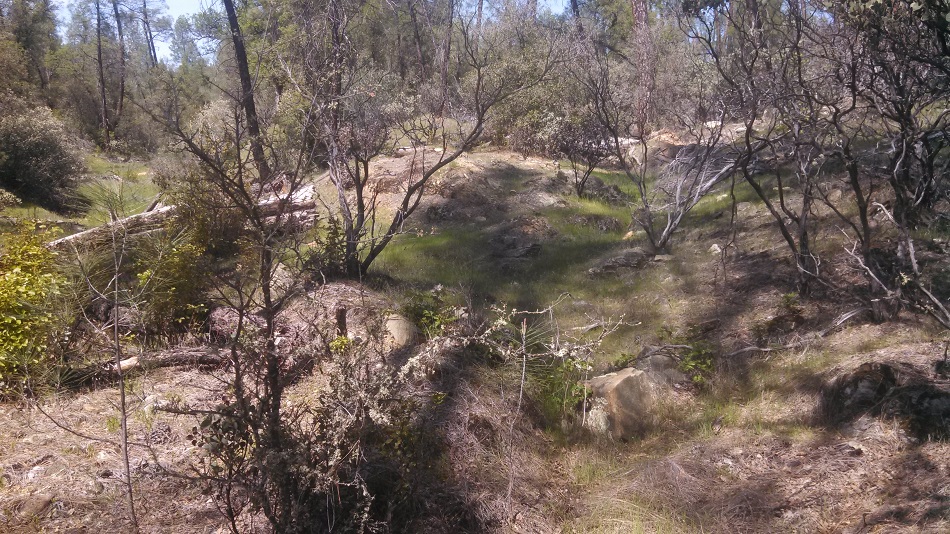
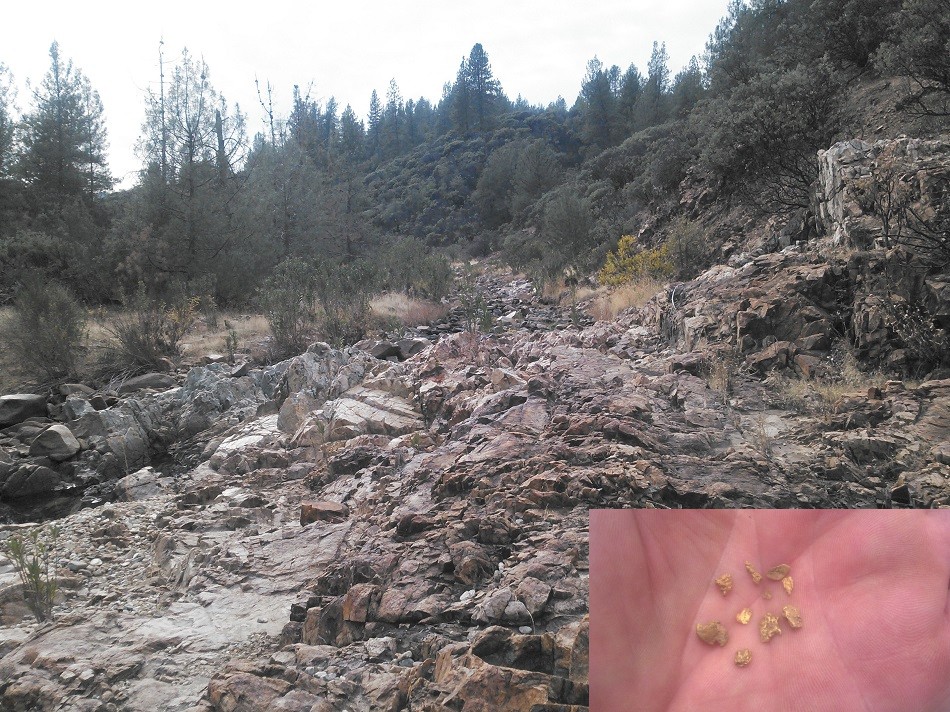
This is an old pocket area that had been ground sluiced at the turn of the century. By the records at the San Francisco Mint this area produced lots of coarse gold. Almost a century later it continues to produce coarse gold with the aid of a detector.
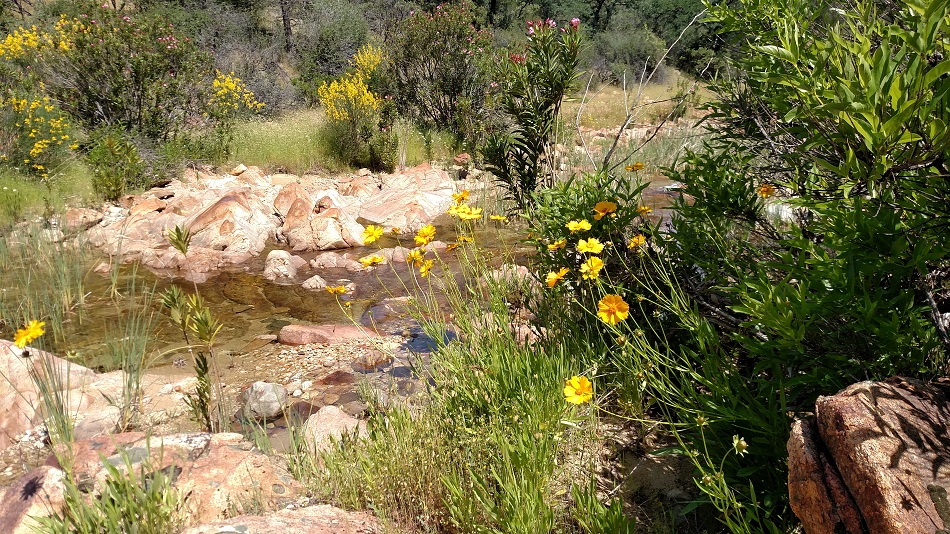
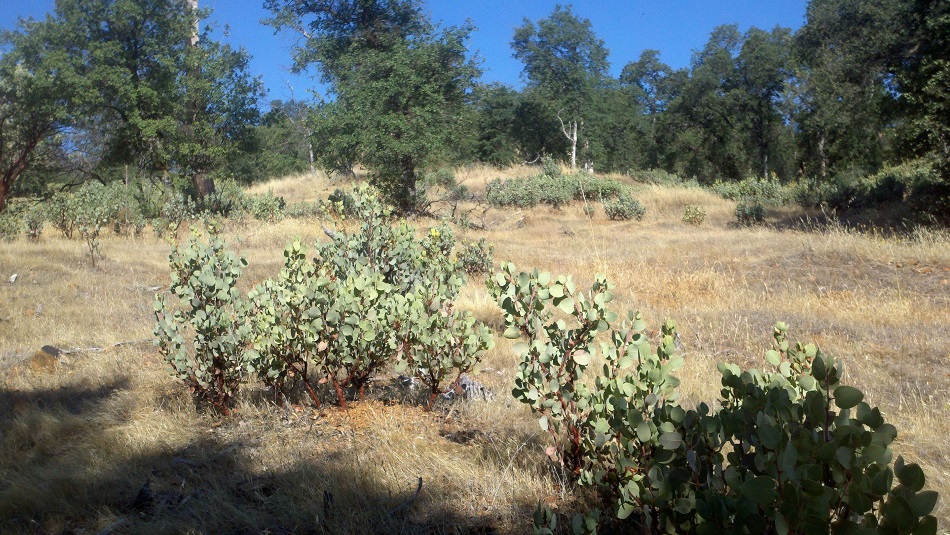
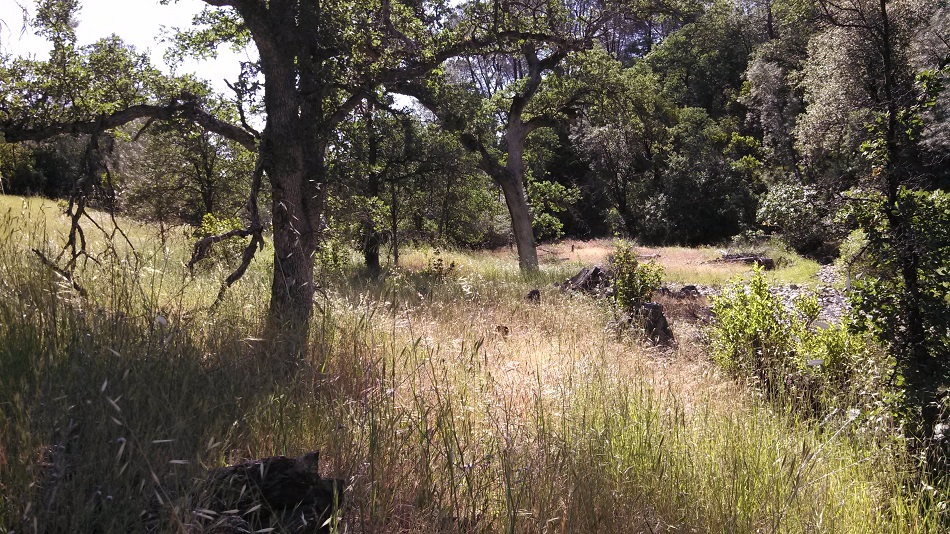
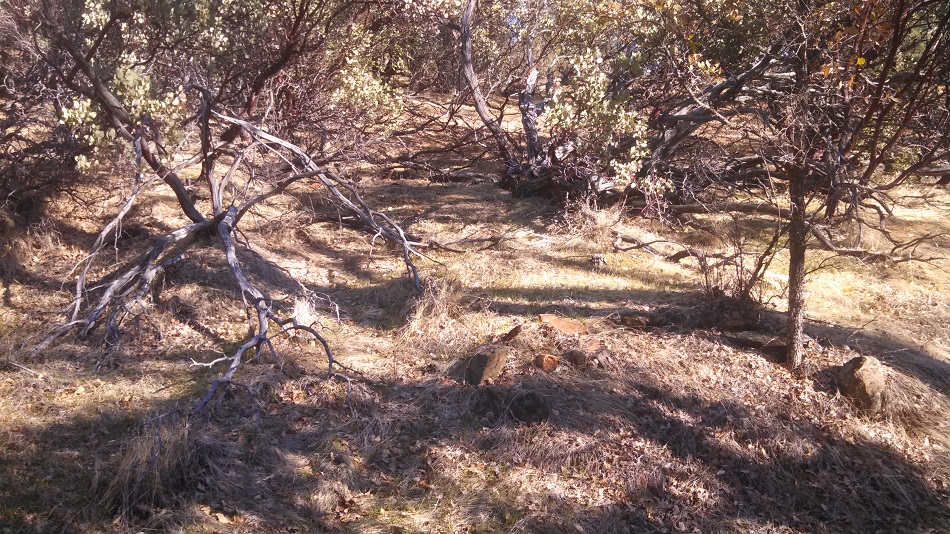
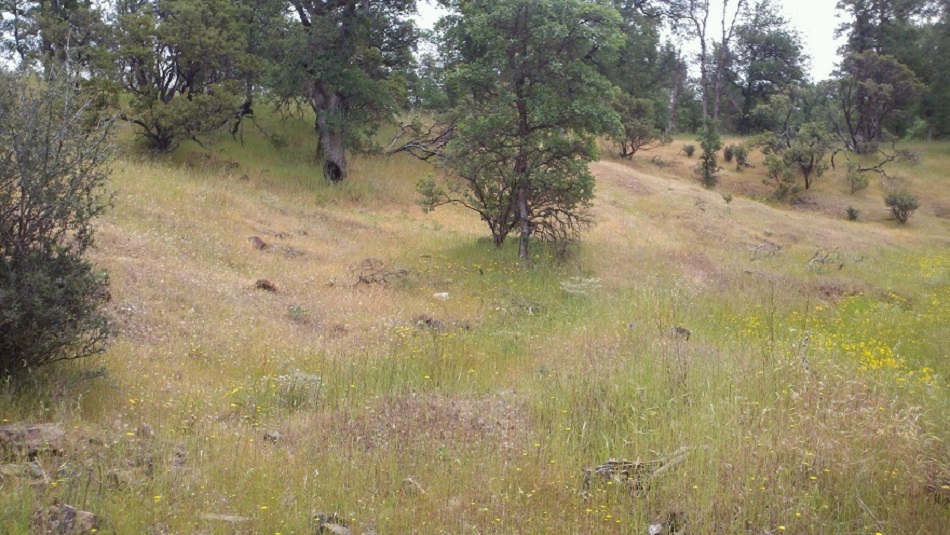
The pictures below show types of areas that I search out. Once you locate places that are similar to those in the photos then slow down and detect them thoroughly, and once you find gold you will want to slow down even more and sharpen your pencil. Read the ground to see how it was worked, washed or moved around. Make sure to detect close to the base of all the bushes and don't be afraid to kick a few rocks around or move an obstruction.

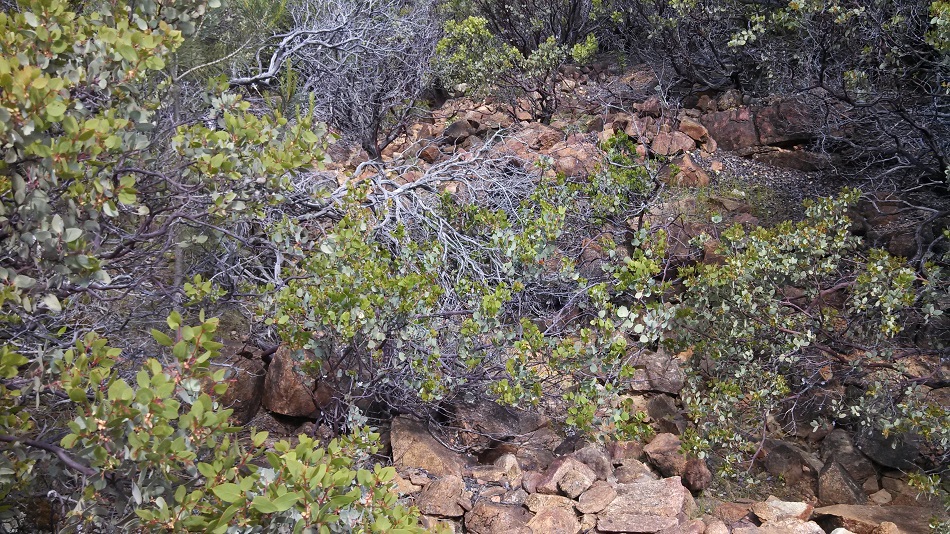
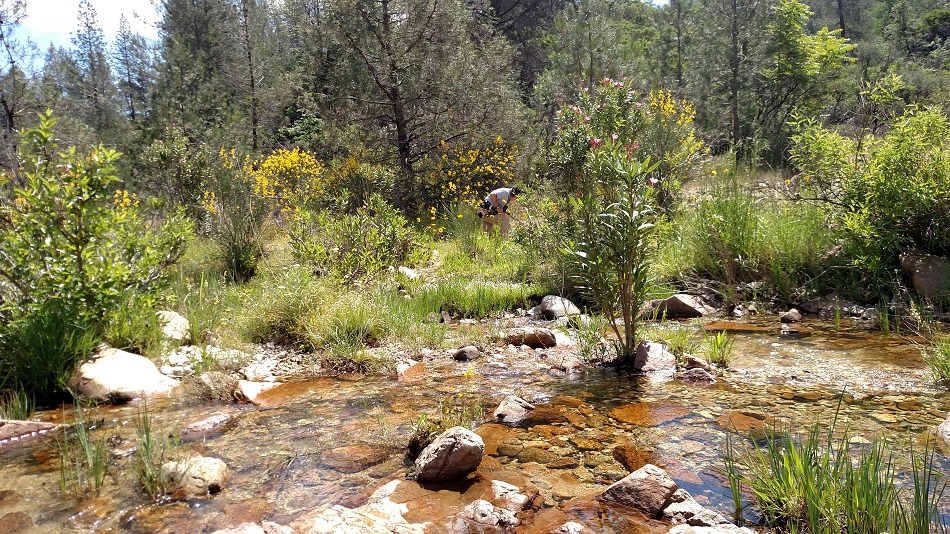
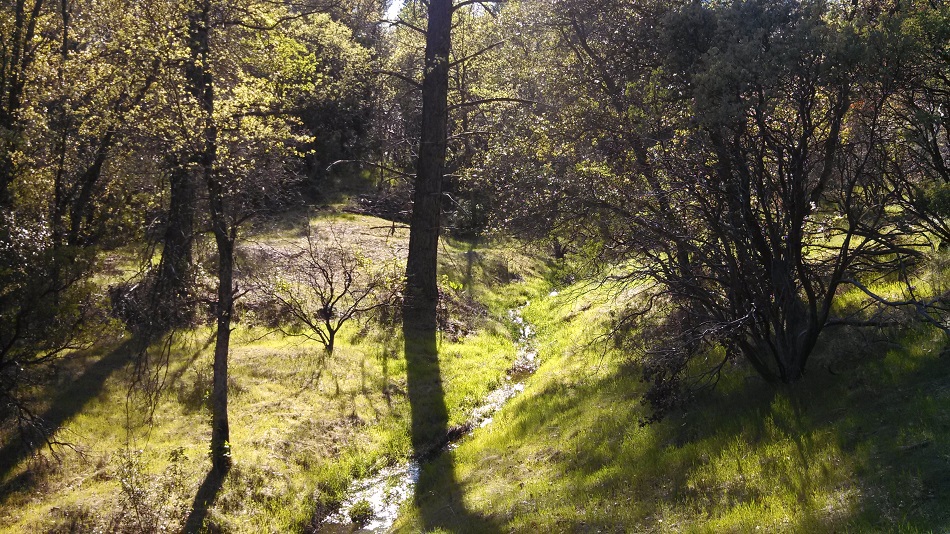
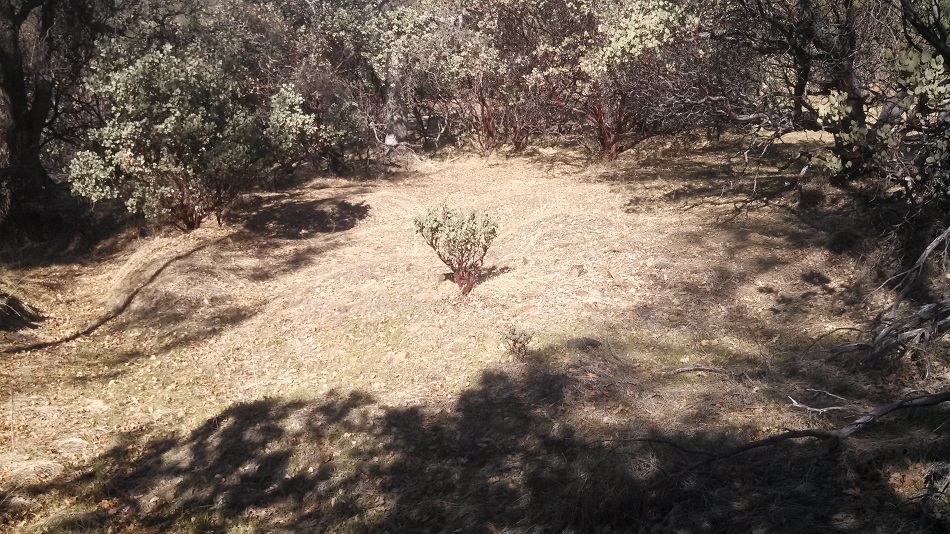
These pictures show areas that should be investigated while out detecting. Again some are pretty obvious while others are very subtle, keep your eyes open while out walking around, it only takes three square feet to make you real happy.
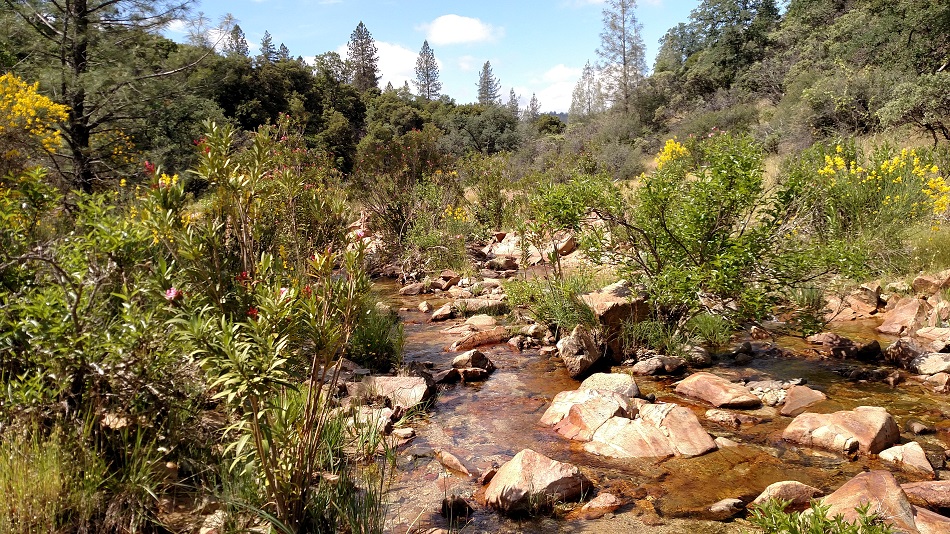
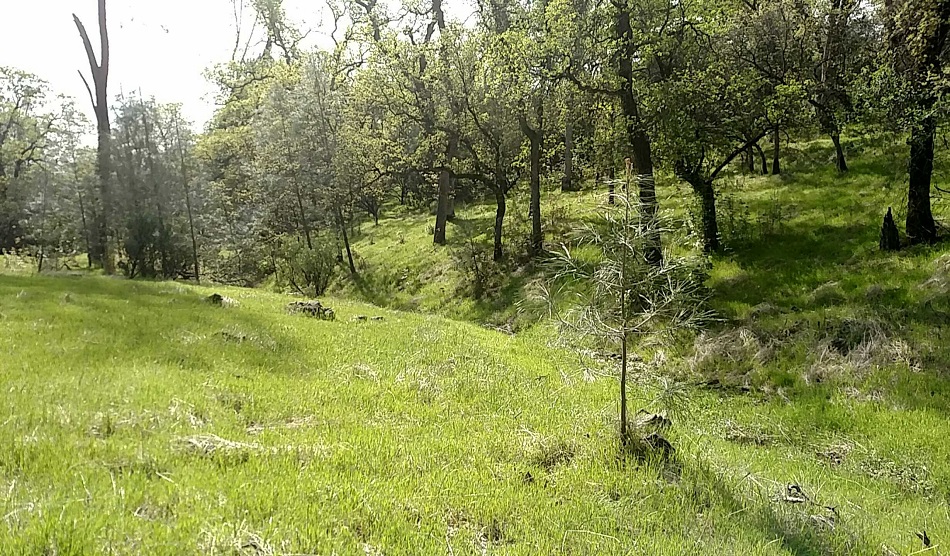
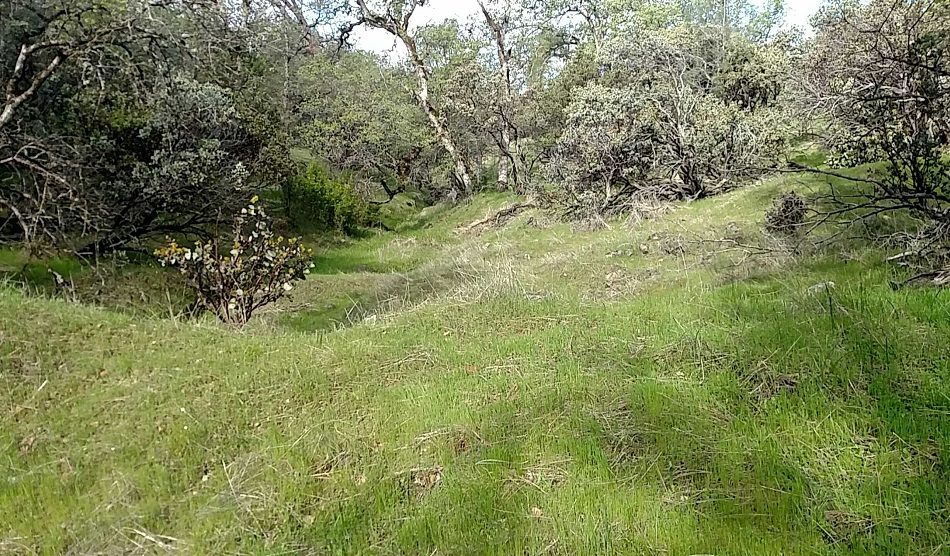
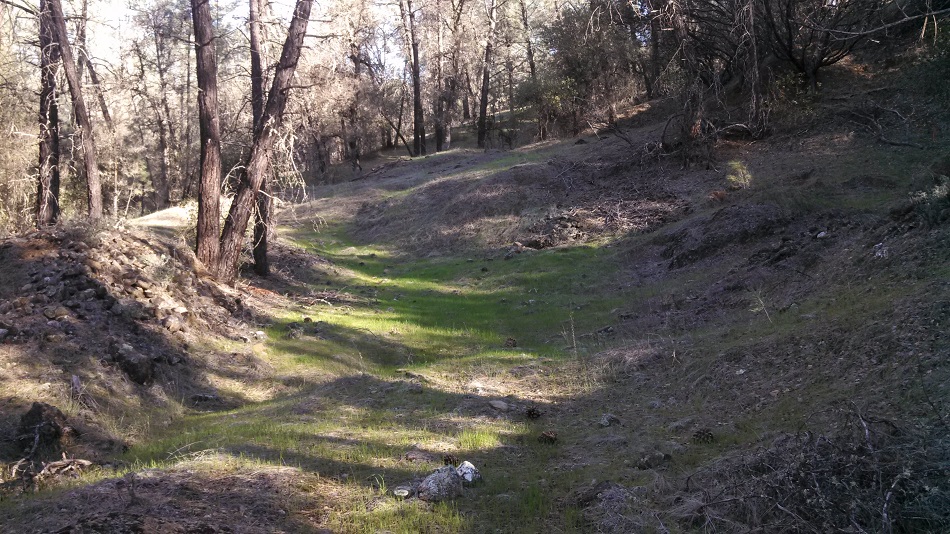
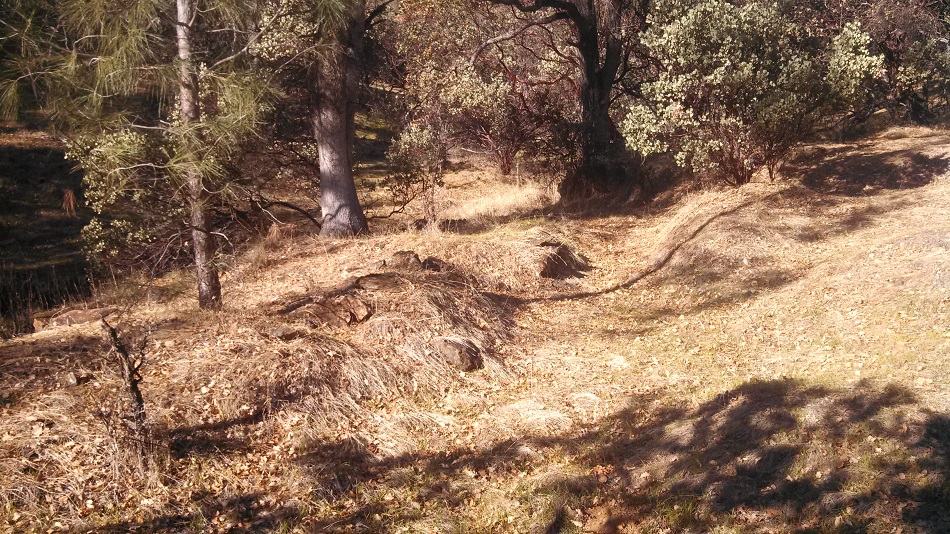
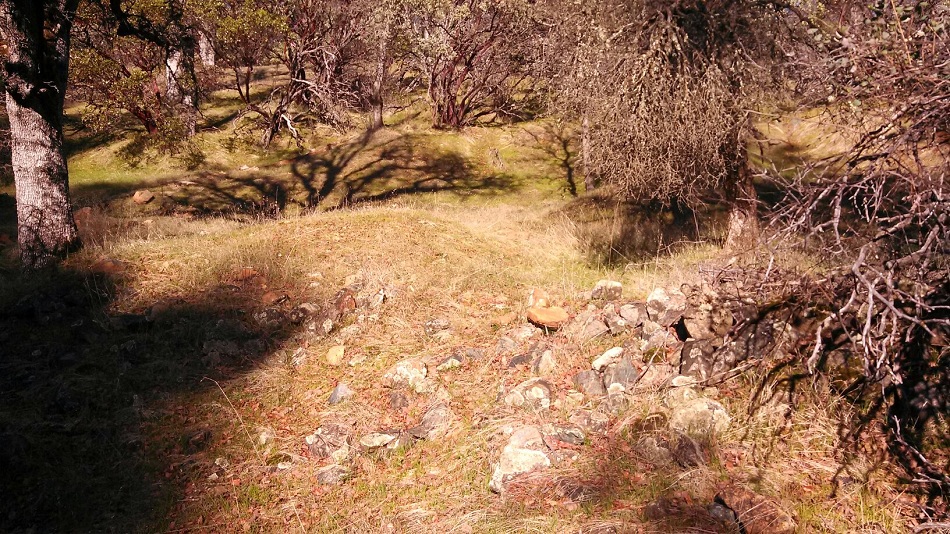
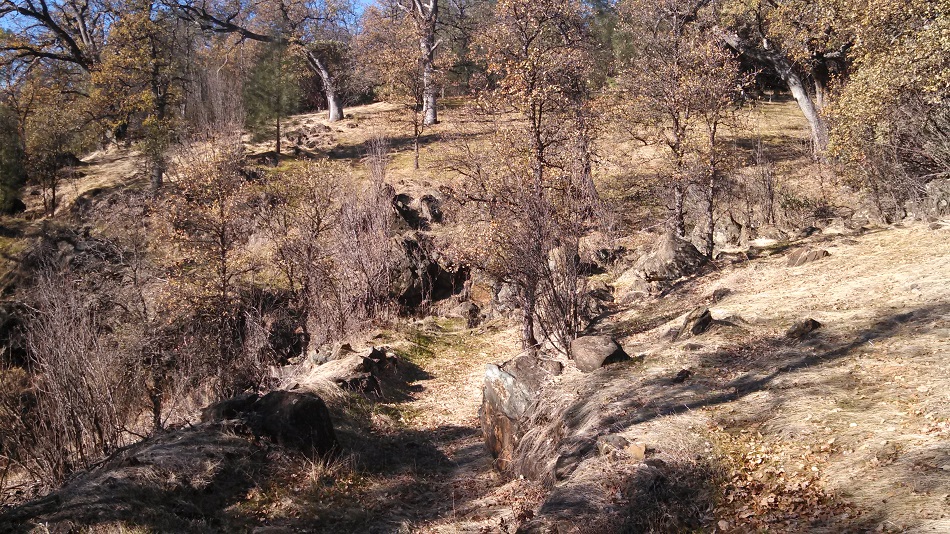
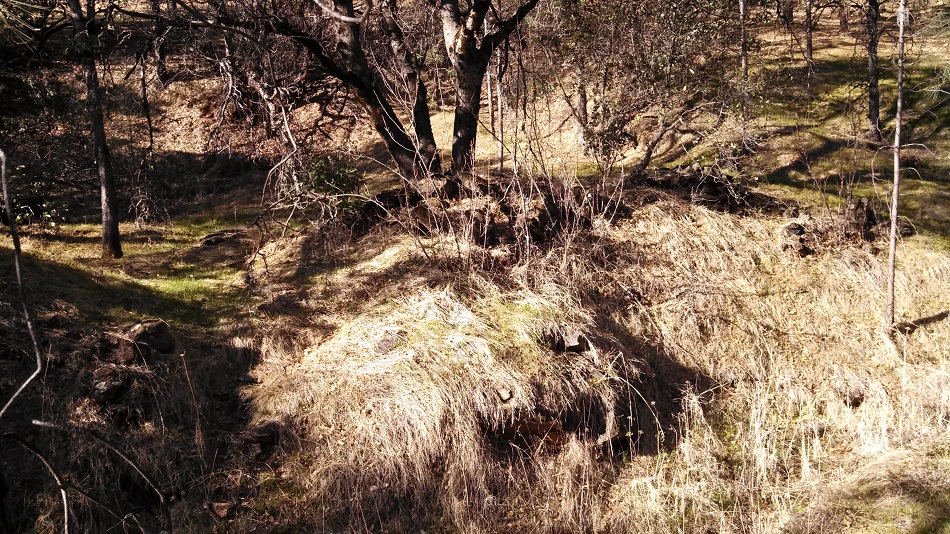
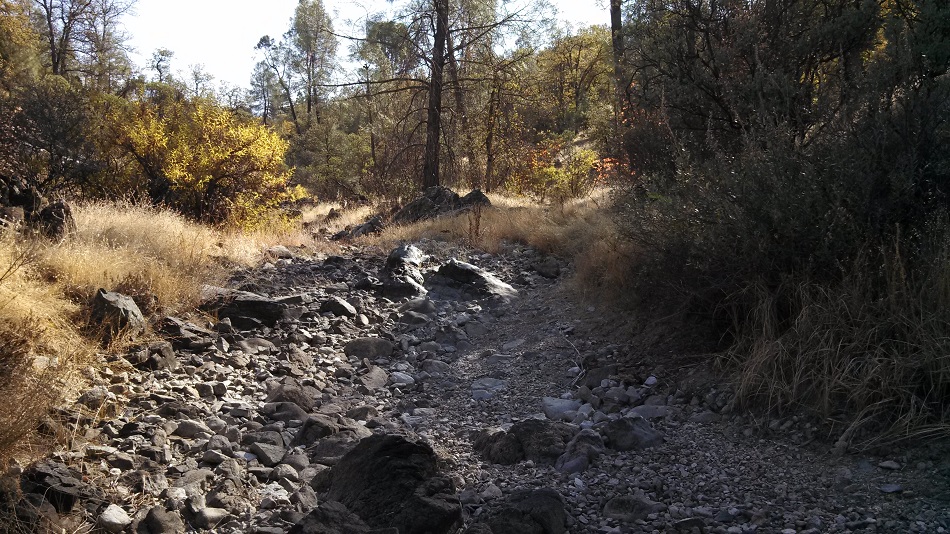
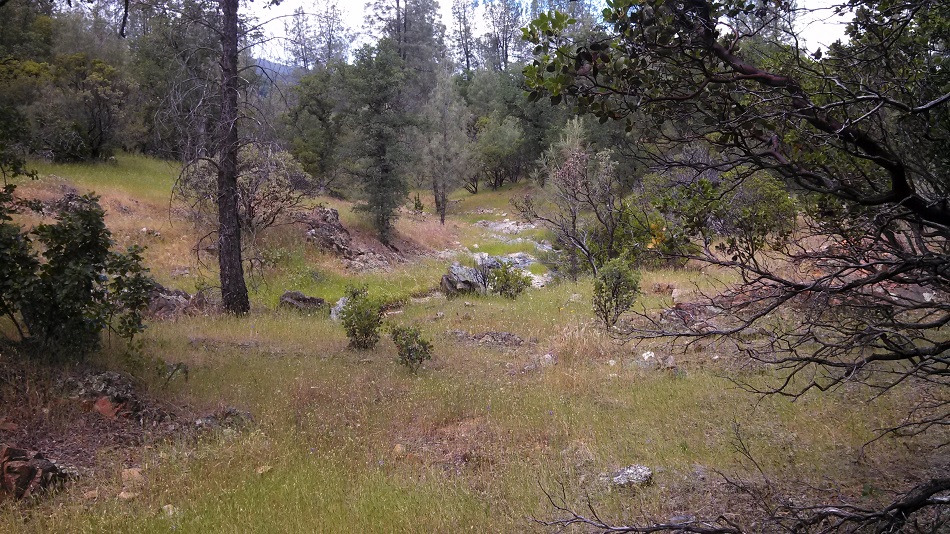
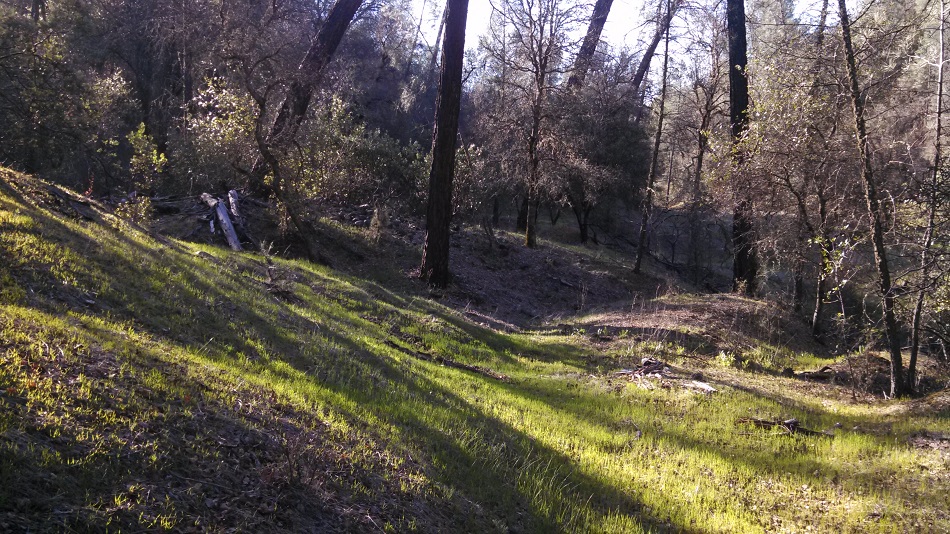
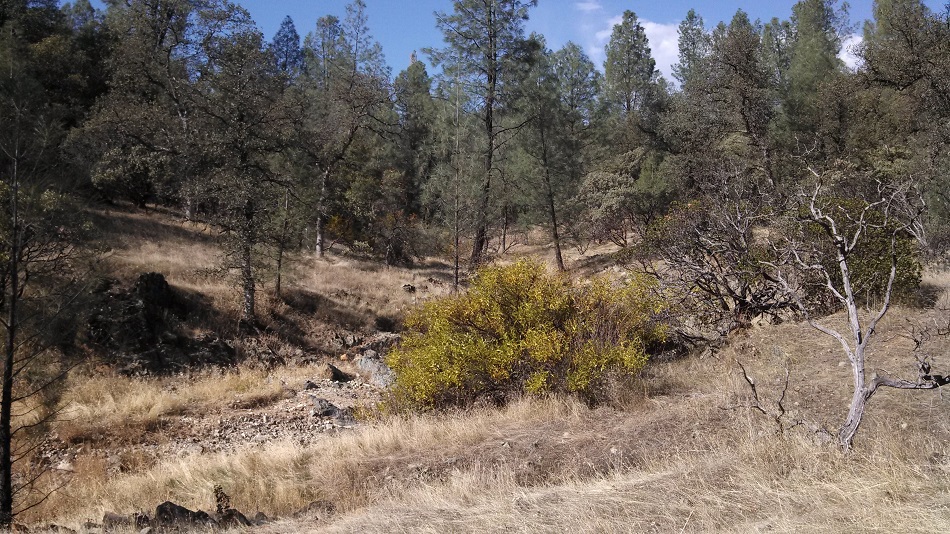
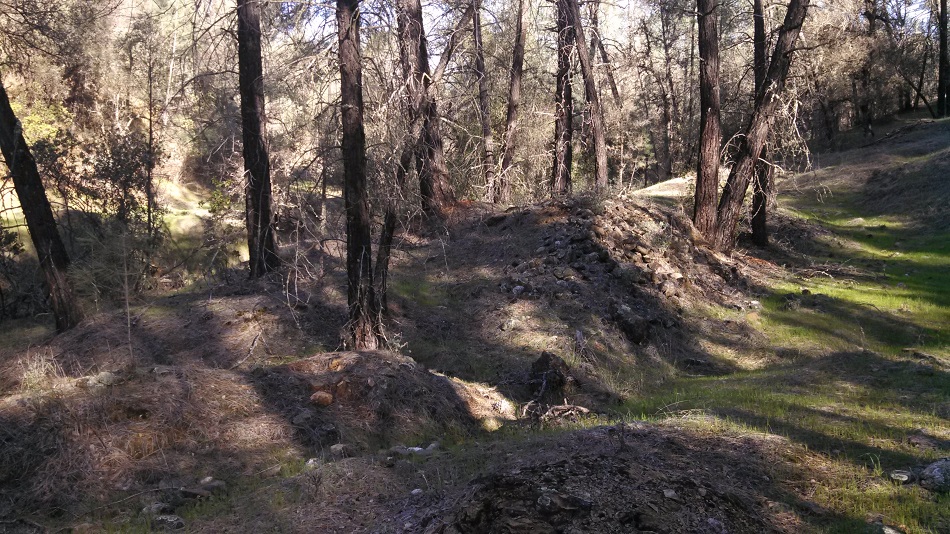
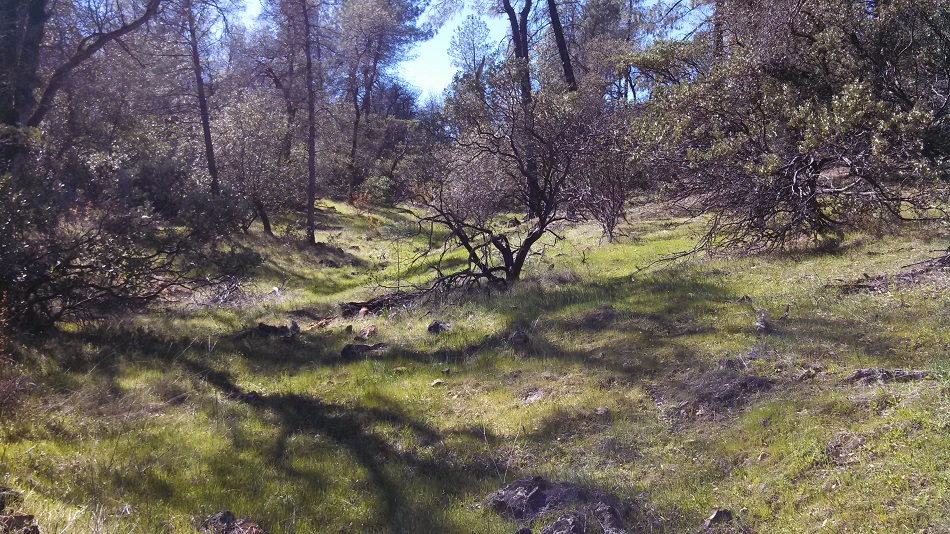
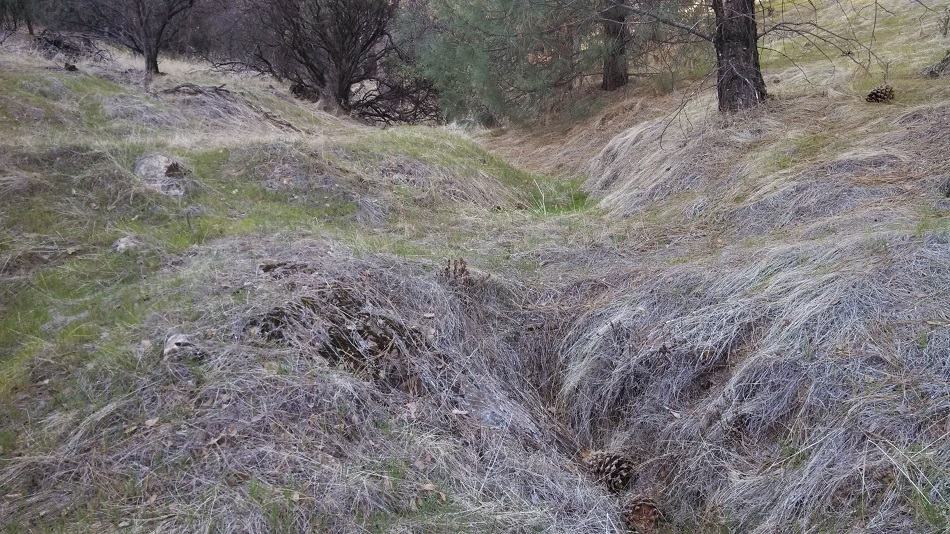
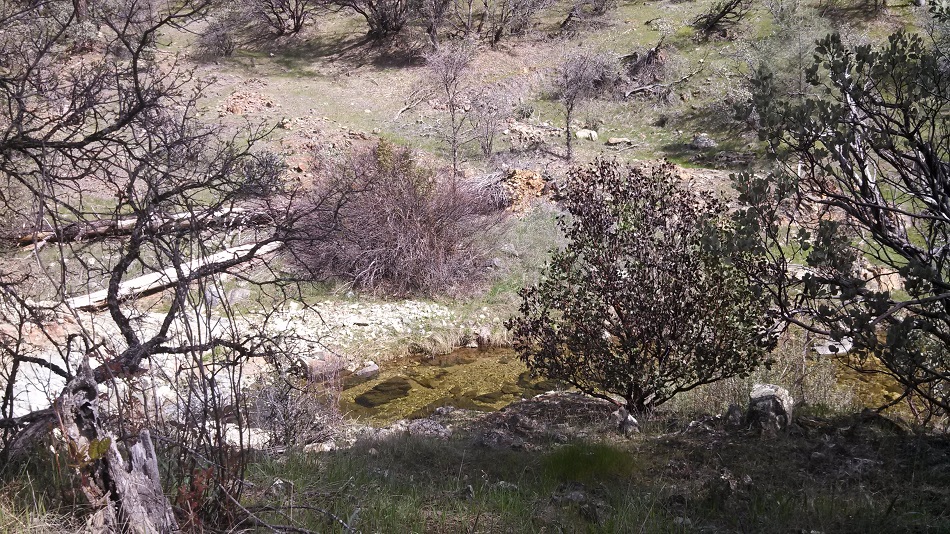
Lots of the photos show a steep to gradual escarpment where the ground was washed away. I really love spots like that as it is where the old timers stopped off. Many times if you continue up and onto the unwashed periphery zone you will find more gold that the old miners never came close to getting. Looking at a few of the pictures you will see what appears to be a ditch line and that is exactly what a few of them are. While detecting on some of the benches shown in the photos you will see obstructions, bedrock outcroppings or the ground has what I call "humpty do's". The gold is usually caught up near these spots. In the creek beds I have always done well on the downstream side of the same type of obstructions, whether the creeks are wet or dry.
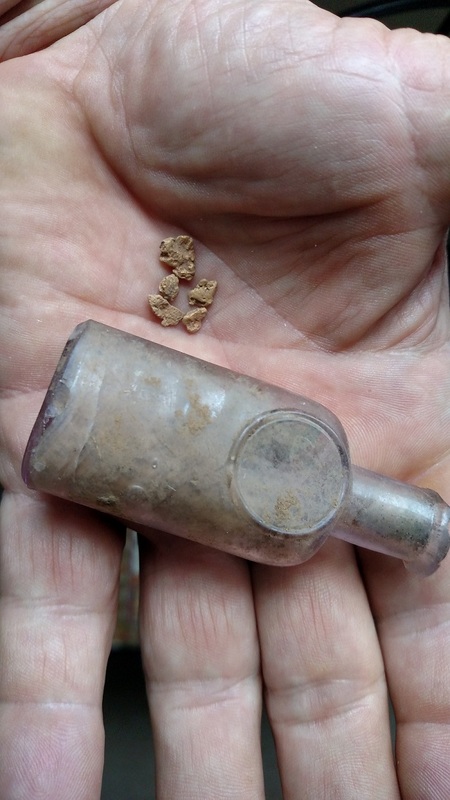
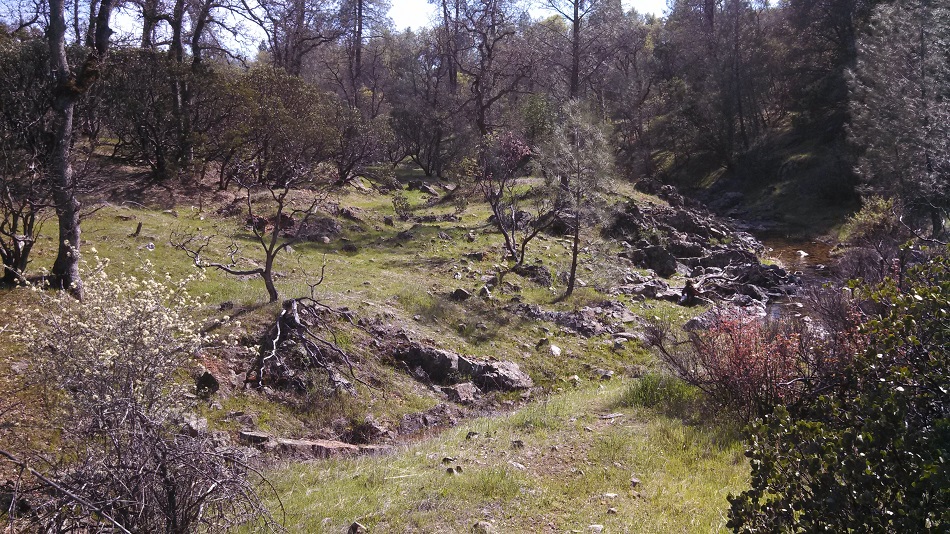
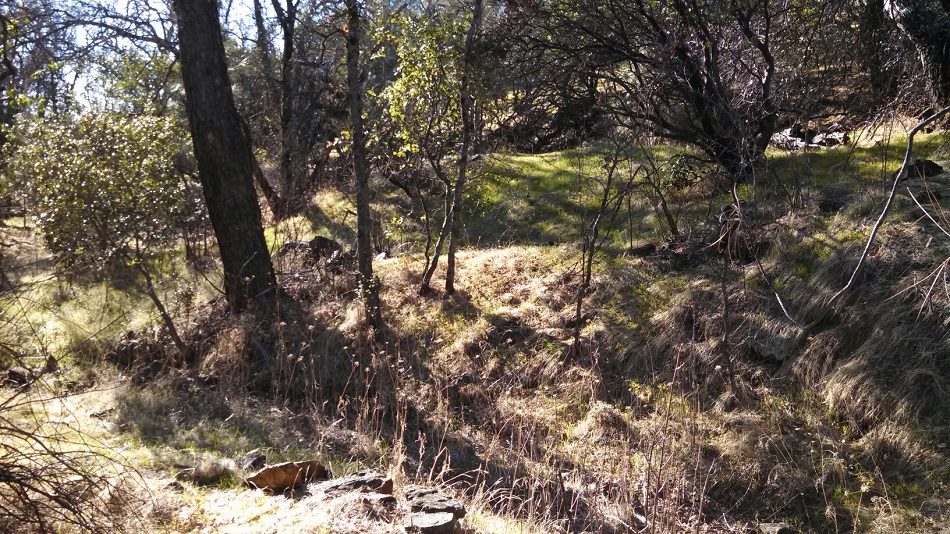
The backside of an inside turn along a creek bed. The first time I hit this area with a detector I came back for a week before I started to run out of signals. Nothing big, but lots of fun.
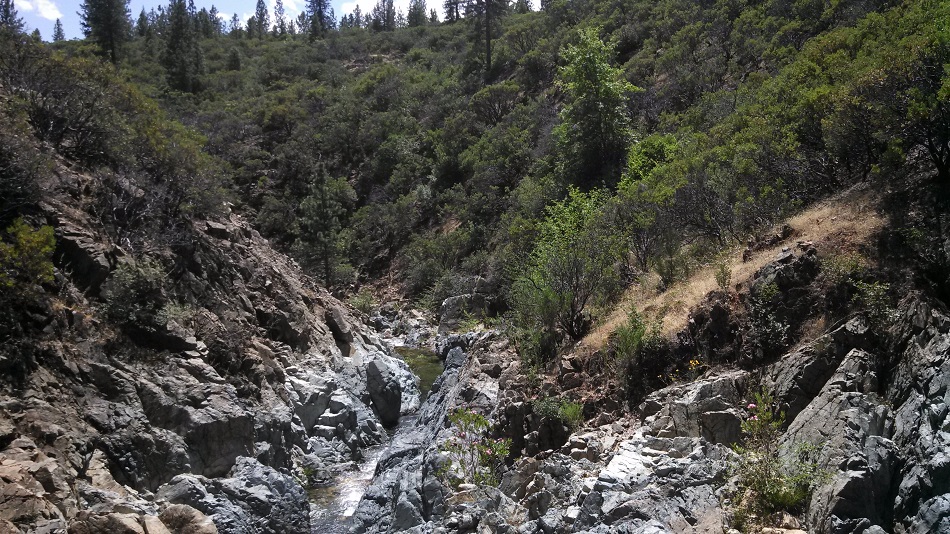
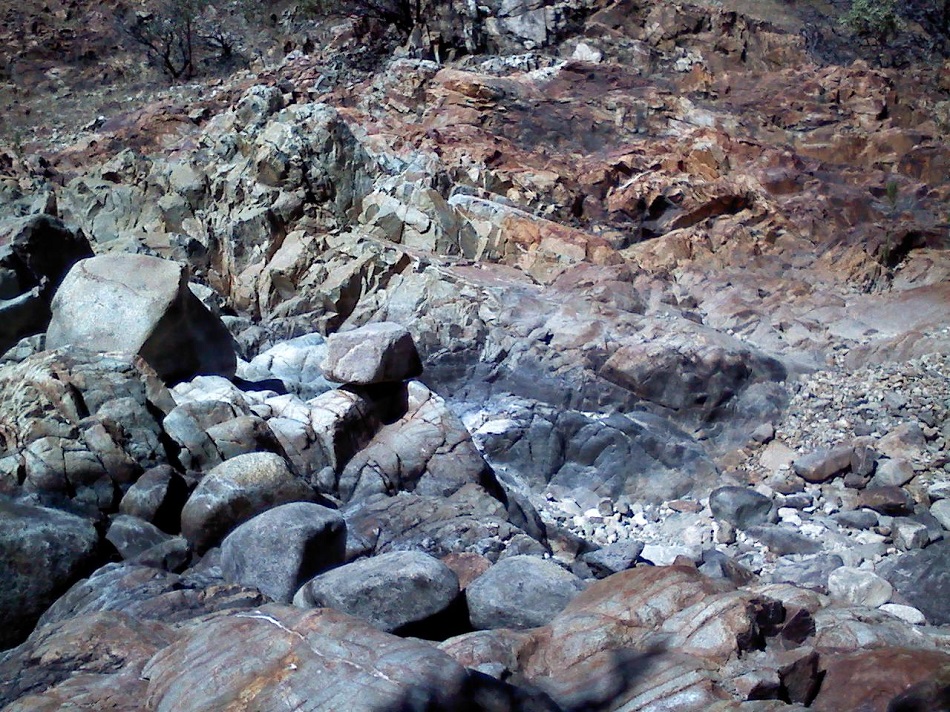
A few of the pictures show expansive zones of bedrock. These bedrock zones need to be worked carefully and slowly as only one crevice could really hold a nice payday. In a large area it is easy to not overlap or poke the tip of your detector down into deep crevices along with going slow enough to hear a very subtle signal. I have had people tell me they are not interested in the tiny stuff, that is fine, but many times "one piece will lead to another" and a half an ounce of gold is a half an ounce of gold.

I hope some of this information will help someone while learning how to detect for gold. There are a great many other items to watch for, these are just a few, and I will continue to add helpful hints and tricks in the future. Thanks, TRINITYAU/RAYMILLS